
Published January 10, 2025 in TREKKING.
What to wear trekking:
The Power of Layering (and How to Do It Right).

By Sandra · Founder of Nepalnewbies.com, first-time Himalayan trekker (Mardi Himal Base Camp, 2024)

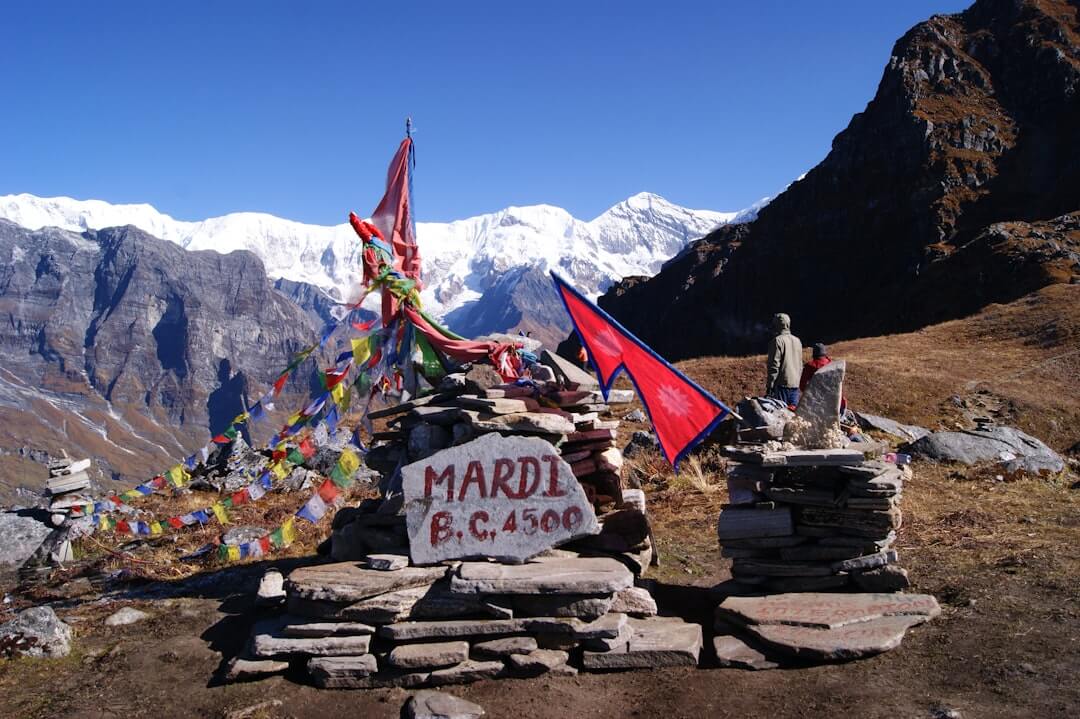
Before my first trek in Nepal, I was completely unsure about what to wear. I had heard that weather in the mountains could change quickly—sunshine one moment, rain or hail the next—but that didn’t help much when I was staring blankly at my gear pile, wondering how to dress for all the conditions. That’s when I kept coming across one key piece of advice: layering.
It sounded simple enough, but I had questions—How many layers do I really need? What kind of layers? And how do you actually combine them to stay comfortable without overheating or freezing? After that first trek, I learned just how crucial smart layering is for staying warm, dry, and ready for anything the trail throws at you. In this post, I’ll break down the layering system I wish I’d known from the start.
Content
- Pre-shopping thoughts
- Understanding the Importance of Layering
- 3-layer Principle
- Choosing the right base layers
- Selecting mid-layers
- The role of the outer layer
- Don't forget: Accessorize!
- Packing light: tips for efficient layering
- Layering for Rest
- Conclusion: The 5 layering tips
How I quickly got overwhelmed.
When I finally decided to embark on a Himalayan adventure—before it was “too late” (read: before I got too old)—I quickly realized my existing gear wasn’t going to cut it. My bulky snowboard jacket? Overkill. My bargain Decathlon hiking boots? Questionable for serious trekking. And my trusty dog-walking down jacket? Probably not built for 4,500 meters of altitude.
Needless to say, I was pretty excited to shop for new gear. But the moment I started browsing online, I felt totally overwhelmed. So many brands, so many layers, so many price tags. I had no clue where to start—or what I actually needed.
Layers, layers, layers.
After digging through countless FB groups, forums and blog posts, one thing became crystal clear: layering was essential for trekking in Nepal. But that raised even more questions—What kind of layers do I actually need? How many? What should each layer do? How do I pack light without freezing at 4,000 meters? And... can I still look cute for that iconic basecamp photo?
So, I dove deeper into the research rabbit hole—and eventually, things started to make sense. Below are my 5 Best Layering Tips for Your Nepal Trek. These simple rules made shopping way easier—and, dare I say, actually fun.
PRO TIP: Layering Isn’t Optional—It’s Survival. I used to think layering was just hiker overkill. But on the trail, where mornings freeze and afternoons bake, it’s a total game-changer. Layering lets you adjust to shifting weather without overpacking—essential for staying comfortable and light.
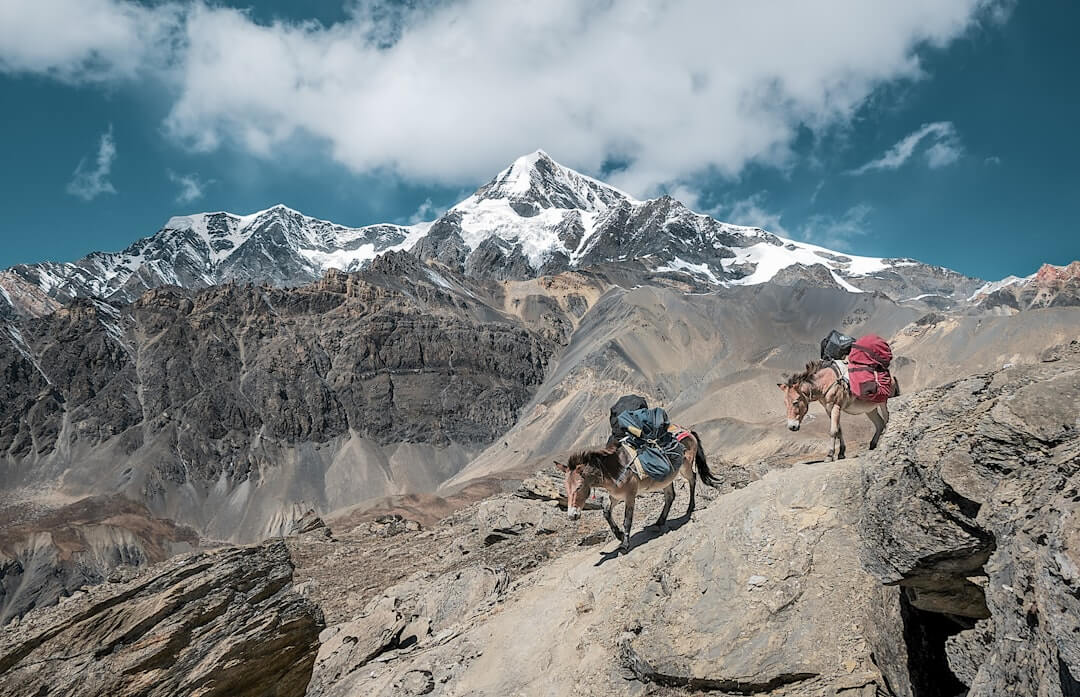
My definition of success of a Nepal Trek.
But first, my definition of success. I believe that success on a high-altitude trek in Nepal is a combination of physical endurance, mental resilience, and careful preparation. It involves reaching the end destination safely on the mountain, whether it's the base camp or the summit, and with plenty of energy left. It also means embracing the journey and taking in the breathtaking views along the way. Our clothing should make the journey easier, not more difficult.
PRO TIP: Keep in mind that your clothing should make the journey easier, not more difficult.
Why you'd want to look cute in the mountains anyway?
OK, admittedly, at one point, the trek will be all about staying hydrated, not getting too cold or warm, nourishing your body well, and avoiding altitude sickness. Who the heck cares about how you look?? Well, take my advice: you will.
If you scroll through your photo album or Instagram and realize every shot looks kinda the same—similar mountain backdrops, the occasional bridge, you rocking the same jacket, shades, and smile every time—you’ll probably wish you’d mixed up your wardrobe a bit more to keep your reels and stories fresh. So when you’re shopping for your Nepal trek, think about how to bring some style and variety to those mountain vibes!
Prepare for Your Nepal Trek the Easy Way –
Get the Ultimate NEPAL Starter Kit.
NEW: Grab my complete Starter Kit packed with gear lists, handy guides, worksheets, and insider tips for trekking smart in Nepal!
Mindful approach to shopping.
Inspired by Marie Kondo’s “only keep what sparks joy” philosophy, I set out to choose gear that truly made me happy. I mean, I love Patagonia—but their color choices? Let’s just say they didn’t exactly fit my winter-type color palette. 😂 My goal was to build a high-altitude wardrobe that was not only practical but also felt like me. This way, every piece I bought would have a purpose and bring me joy—not just on the trek, but in everyday life too.
With that in mind, here’s what I learned about layering for high-altitude trekking. Let’s dive in!
Understanding the Importance of Layering
We’ve all heard about layering, but truly understanding why it’s so important can make all the difference on a Nepal trek. Getting it right can either make your high-altitude adventure comfortable and enjoyable—or turn it into a struggle. Here are two key reasons why layering is a must:
Wearing multiple—and the right—layers lets you control your body heat and stay comfortable whether you’re powering up a tough climb or dealing with sudden weather changes. Seriously, this is super important. Trust me, the weather in the Nepal mountains can flip in an instant. You could be warm for one minute, and freezing cold just around the corner. Nothing’s as unpredictable as mountain weather—so layering is your best friend.
- Good layering also enables you to easily adapt to temperature variations between different altitudes, ensuring that you stay warm and dry while minimizing the risk of overheating or becoming too cold. Anyone who has been trekking in Nepalese mountains knows what I'm talking about.
So what I found out is that mastering the art of layering, is essential for a successful and enjoyable trekking experience in Nepal.
PRO TIP: Regardless of the season you're traveling to Nepal, it's important to bring clothing layers that can accommodate all four season climates!
3-layer principle.
The 3-layer principle is the backbone of smart trekking gear—mastering it can seriously upgrade your Nepal adventure. When shopping and packing, thinking in terms of this principle helps you stay comfortable through changing weather and varying activity levels. Get this system right, and your backpack will be lighter, your body temperature balanced, and your trek way more enjoyable.
So what layers are we talking about and how many layers should we anticipate?
1. Base layer.
First, we have the base layer. The underwear, so to speak. The base layer is the layer directly on your skin. It serves as the foundation of the clothing system and is responsible for moisture management. It should be moisture-wicking and quick-drying to keep sweat away from the skin. Merino wool or synthetic materials are popular choices for base layers.
2. Insulation or mid layer.
Then we have a mid-layer that provides insulation and helps retain body heat. Fleece jackets or insulated vests are commonly used as mid-layers. The thickness of the mid-layer can be adjusted based on the temperature and level of activity. When we say Nepal or Himalayas, it's inevitable that you're going to look for a comfy down jacket as a mid-layer. When the weather is dry, it can serve as the out layer.
3. Outer layer.
The outer layer, often a waterproof and windproof shell, serves as protection against harsh weather conditions such as rain, snow, and wind. It's essential to choose a breathable outer layer to prevent overheating and allow moisture to escape.
In high-altitude environments, temperatures can fluctuate throughout the day, so the ability to add or remove layers is crucial. This allows for efficient temperature regulation and ensures comfort and safety in changing weather conditions. I last-minute decided to bring specific outer-layer trousers, which I used at high-elevation (from 3,800m onwards) and boy, was I happy.
PRO TIP: If you usually get cold easily, it’s really important to prioritize thicker, well-insulated layers to stay warm and comfy in the cold. Sounds obvious, right? But think about choosing an 800 fill power down jacket instead of a cute 500 fill one—or definitely skip the cheap jacket you saw in Thamel, Kathmandu. Seriously! Watch any Nepal trek YouTube video, and you’ll hear plenty of women wishing they’d packed warmer clothes. Being prepared for high-altitude weather is no joke.
It's all about balance.
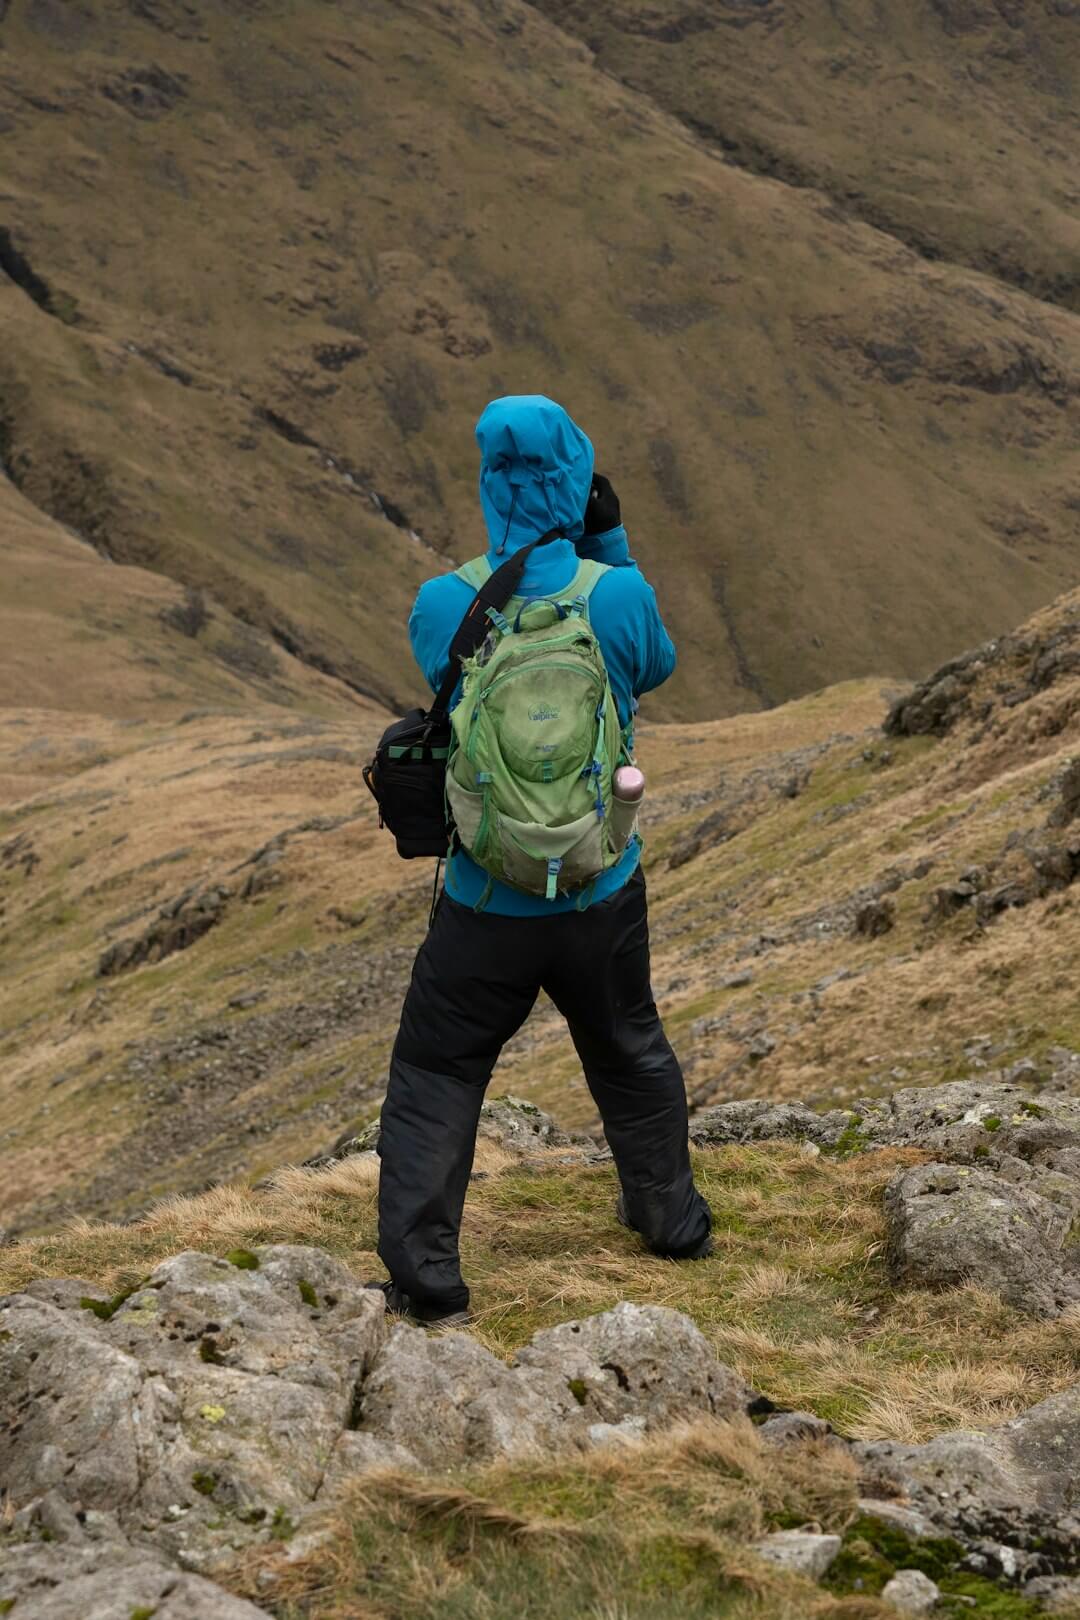
So here's the thing with layering: You don't want to have too many or too few layers. When preparing for a high-altitude trek in Nepal, it's crucial to strike the right balance. Using too many layers can lead to overheating and excessive sweating, which can in turn make you colder when you stop moving. On the other hand, using too few layers can leave you vulnerable to the harsh elements and rapid weather changes that are common in the Himalayas. Finding the perfect balance in your layering strategy is essential for staying comfortable and safe during your trek. Also, pay close attention to the performance of the layers to understand the capabilities of each clothing item / layer.
Choosing the right base layer.
When preparing for high-altitude treks, choosing the right base layer is crucial. Opt for moisture-wicking fabrics such as merino wool or synthetic materials to keep the skin dry and regulate body temperature. These materials are also known for their ability to provide insulation even when damp, making them ideal for high-altitude environments where weather conditions can change rapidly. Additionally, consider investing in base layers with UPF sun protection to shield your skin from intense UV exposure at higher elevations.
NB: Cotton is not a good choice for a base layer when trekking. Unlike synthetic materials or merino wool, cotton tends to absorb and retain moisture, which can lead to discomfort, chafing, and increased heat loss, especially in cold and wet conditions.
When you choose the wrong base layer, it can lead to great discomfort and potentially compromise your high-altitude experience. When you get the base layer right, you are all set for a comfortable and enjoyable trek. With the right base layer, you can stay dry, warm, and comfortable, allowing you to fully focus on enjoying the journey without being hindered by discomfort or temperature fluctuations.
Selecting mid-layers.
When people go shopping for high-altitude outfits, they often start by selecting a down jacket. That's what I did too. We all know that down jackets are a popular choice for high-altitude treks due to their exceptional warmth-to-weight ratio and compressibility. They provide excellent insulation and are highly effective at trapping body heat, making them ideal for cold and high-altitude environments. As a result, selecting a high-quality down jacket is often considered a crucial first step when preparing for high-altitude adventures.
While the down jacket is a popular choice for insulation in cold and high-altitude environments, it's important to note that it primarily serves as an insulating or mid layer in the layering system. In addition to down jackets, there are other mid layer options to consider, such as fleece jackets, synthetic insulated jackets, and softshell jackets. Each type of mid layer offers unique advantages based on factors such as breathability, moisture-wicking properties, and versatility.
Therefore, when preparing for high-altitude treks in Nepal, it's essential to explore the full range of mid layer options to ensure that you select the most suitable clothing for the specific conditions you may encounter. I personally ended up with a 800 cuin fill power down jacket and a warm full zipped fleece jacket. In combination with my outer layer for me it was perfect.
I wore either a base layer t-shirt with the down jacket, the t-shirt with the fleece, the fleece with the down, or the fleece with just the outer jacket or, when I felt really cold and tired, the tee, the fleece, the down plus the outer jacket (as my down didn't have a hood).
The key is to find the perfect balance of warmth, comfort, and versatility to ensure an enjoyable and safe experience.
The role of the outer layer.
OK. Let's talk about the outer layer. The outer layer is designed to be durable and water-resistant, providing an extra layer of protection to keep the body warm and dry. Additionally, it's important to consider factors such as breathability, weight, and packability when selecting an outer shell to ensure it meets the specific needs of the environment and activity.
Investing in a high-quality outer shell is crucial for ensuring comfort, protection, and safety in challenging weather conditions. While it may be tempting to cut costs on outerwear, especially for occasional outdoor enthusiasts (anyone?), a proper outer shell provides essential protection against wind, rain, snow, and fluctuating temperatures, particularly at high altitudes. Prioritizing the purchase of a reliable outer shell can significantly enhance the overall outdoor experience and contribute to staying warm, dry, and comfortable in various weather conditions.
Also, a simple everyday raincoat doesn't count as a proper outer shell when at high altitudes due to several reasons. First, most rain jacks lack adequate breathability, and when used as an outer shell in high-altitude environments, they can trap moisture and sweat, leading to discomfort and potential heat loss. Additionally, rain jacks may not provide sufficient protection against strong winds and freezing temperatures commonly experienced at high altitudes.
I was super happy with my The North Face Quest jacket as an outer layer, because I knew it would protect me when things would get rough. I sized up so I could wear my down underneath, if needed. But I only wore it when it rained. I found that wearing my hooded sports jacket and merino sweater gave me so much comfort on the trails even on cold and windy parts that I only used my down jacket to sleep in and the early morning hours of the day that we pushed on to the basecamp.
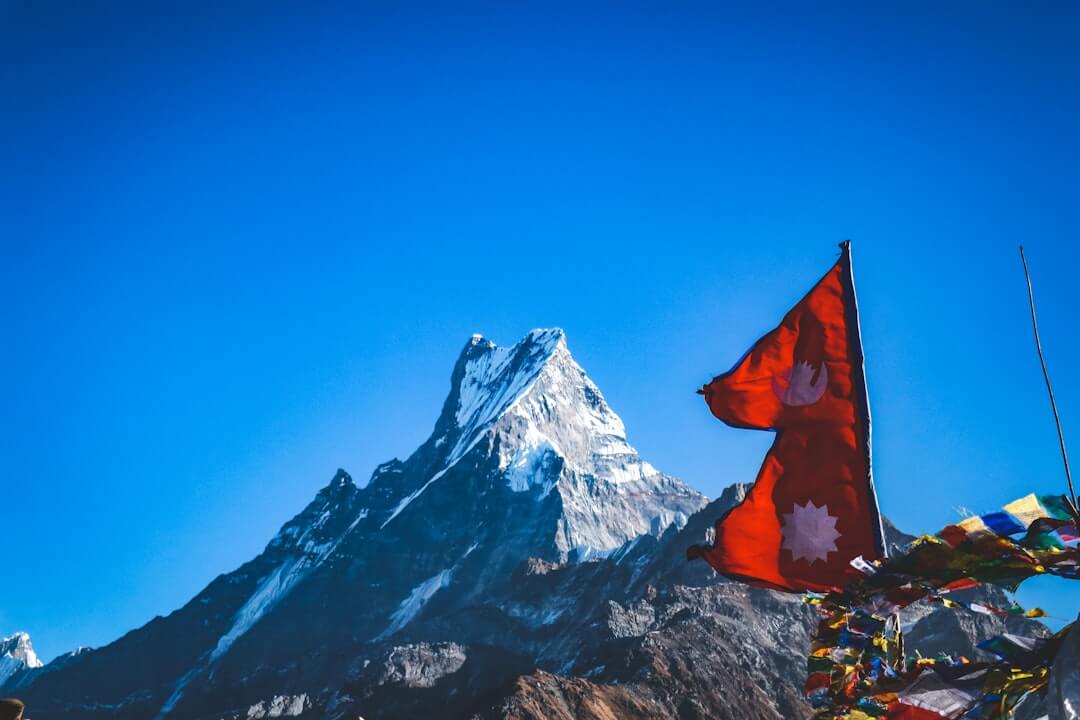
Don't forget: Accessorize!
Doing a Himalaya trek in Nepal doesn't mean you have to look dull, dirty, or the same as all the other trekkers! Consider stylish accessories that add a personality touch to your trekking ensemble. There's nothing wrong with that; it doesn't make you less of a hiker if you look cute. Think a colorful neck gaiter, a practical yet stylish beanie or hat, or a selection of functional yet fashionable pair of sunglasses. Those items enhance your look and serve valuable purposes during your trek.
PRO TIP: Consider accessories that will help you look great in selfies or videos, such as a red or pink cap for a pop of color against the rough terrain of the mountains, a light trendy pair of sunglasses or a versatile yellow body warmer. Really?? Absolutely. While prioritizing functionality, add a touch of flair to your adventure in Nepal, and ensure you look great in your captured memories.
Packing light: Tips for efficient layering.
OK, here are a few tips for efficient layering when packing light:
1. Choose versatile pieces: Opt for clothing items that can be easily mixed and matched. Neutral colors for trousers (think black, brown, blue, not whites... remember the yak poop and soil) and simple designs can be paired with a variety of other pieces, allowing for more outfit combinations with fewer items. Really?? Sure! Why not have fun looking fresh and collected on the trek? Think of your awesome photos and selfies.
2. Consider the climate at various altitudes: Research the weather and pack accordingly. Here's a fact: The temperature at 1500m is significantly different from the temperature at an elevation of 5500m. As altitude increases, the air becomes less dense, resulting in lower atmospheric pressure and reduced heat retention. This leads to a decrease in temperature with higher elevation, typically resulting in a drop of approximately 1 degree Celsius for every 100 meters gained.
3. Use a simplified layering technique: Start with a base layer, such as a moisture-wicking T-shirt, and add layers as needed. A lightweight fleece or down jacket can be added for warmth, and a scarf or neck gaiter can serve as both an accessory and an additional layer. Use a color scheme that you like, to mix and match layers in different colours for variety in your photos.
4. Focus on fabrics: When light packing for high altitude treks, it's important to carefully consider the fabrics and weights of the clothing and gear you plan to bring. My experience is that trousers sometimes weigh much more than you think. Always check the description! Opt for lightweight, moisture-wicking fabrics such as merino wool, synthetic materials, and certain blends that offer excellent breathability and quick-drying properties. These fabrics are ideal for base layers and mid layers, as they help regulate body temperature and manage perspiration effectively.
5. Roll, don't fold: When packing your clothes, roll them instead of folding to save space in your suitcase. Later on, when using e.g. a duffel bag, use those plastic foil zipper bags that you can see through for each layer except the bulky items like your down or rain jacket which you'd want to put into your day pack. This method also makes it easier to see all the clothing items you've packed, helping you to mix and match more effectively.
By following these tips, you can master the art of efficient layering and pack light for your next trip without sacrificing style or comfort.
PREPARE FOR YOUR NEPAL TREK THE SMART WAY!
Everything I wish I'd had before my first trek: checklists, worksheets and honest tips. Free!

Hey there, I'm Sandra!
Life coach, mountain lover and proud Nepal newbie. I did my first trek in Nepal in my fifties, and it changed everything. Nothing grounds you like standing among those Himalayan giants.
On the trail, I learned the hard way that it's as much a mental game as a physical one. So I started Nepalnewbies.com to give beginners like us the honest advice I wish I'd had. No sugar-coating.
👉 READ MY STORY
Popular posts
What I found out, no sugar-coating, about what 17,598 ft (5,364 m) asks of you.
I made it to base camp, but my prep wasn't even close. Learn from my mistakes.

Here's what using a toilet is really like on a trek, and 10 tips to make it a lot less awkward.
NEW: THE NEPAL STARTER KIT.
Layering for rest.
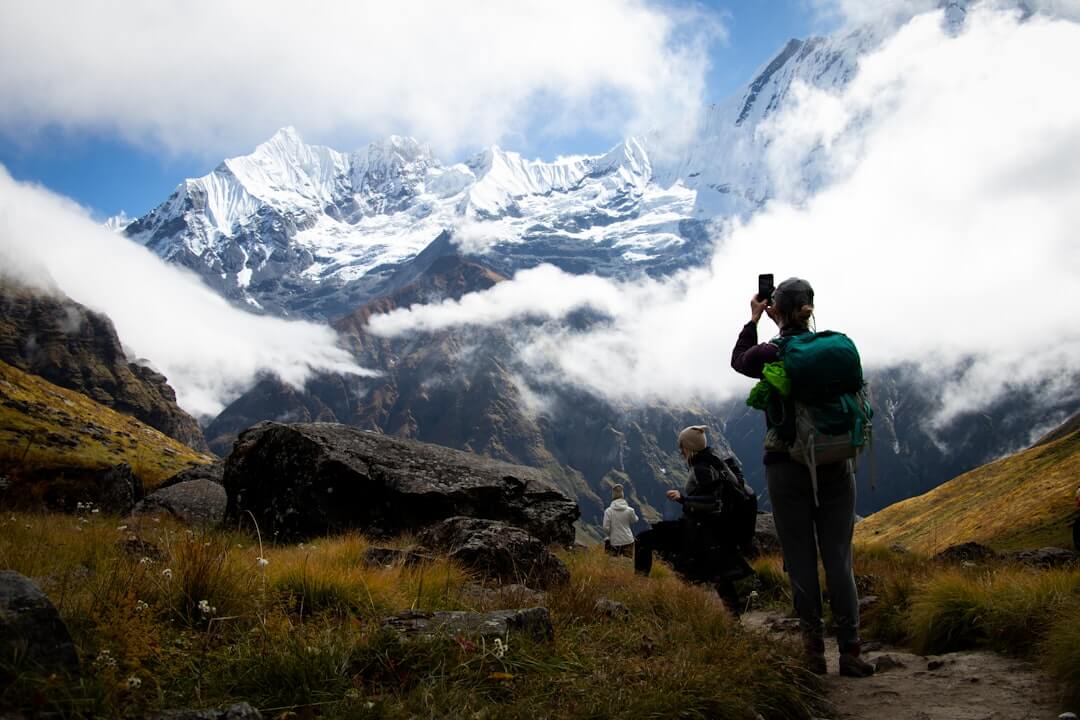
When trekking in Nepal and staying in teahouses or lodges along the trail, layering is essential for managing comfort in varying temperatures. The cold in tea houses can be significantly, particularly at high altitudes where temperatures can drop dramatically, especially during the night.
Most tea houses don't have the luxury of centralized heating, and the thin walls and basic construction allow cold drafts to permeate the interiors. As a result, you often experience chilly conditions inside the tea houses and even the "heated" lodges. It's essential to be prepared for the cold by dressing in cozy warm layers and having suitable sleeping gear (often only a duvet is provided which is not comfortable enough!) to ensure comfort during the night.
At one point, I made the decision to start sleeping in all my layers, including my down jacket and beanie (except for the outer shell trousers), to avoid the discomfort of the cold. I slept in my own sleeping bag and used the duvet as an extra blanket.
Thin, quality gloves, beanies, and dry, woolen socks are also crucial for keeping extremities warm during periods of rest.
YOUR TURN: Any thoughts, advice, experiences, questions? Share in the comments.
Leave a Reply
Grab My Nepal Starter Kit.

PREPARE FOR YOUR NEPAL TREK THE SMART WAY! Everything I wish I'd had before my first trek: checklists, worksheets and honest tips. Free!
Copyright ©Nepalnewbies.com All Rights Reserved.
The Nepal trekking blog for beginners who want the real story. First-hand experience from a fifty-something beginner, honest tips and practical guides for your first trek in Nepal. Squat toilets included. No sugar-coating.
Copyright © YourCompany. All Rights Reserved
3 replies to "What to wear trekking: The Power of Layering (and How to Do It Right)."
[…] What to wear trekking: The Power of Layering (and How to Do It Right). […]
[…] What to wear trekking: The Power of Layering (and How to Do It Right). […]
[…] It's a bit like the way you dress on the trail: in a culture where modesty matters, walking through villages in tiny shorts and low-cut tops isn't against the law, but it isn't respectful either. (More about that in What to Wear Trekking in Nepal.) […]